On this page, you'll learn how to:
- add the SEED Map to saved results
- use the ‘Save data’ functions
- create custom links for SEED Map datasets.
To export data, see How to export data from the SEED map.
Save the SEED Map
In this section, you’ll learn how to:
- Save features on a layer
- Export, print or bookmark the map, and
- Create custom links to map datasets
Save features on a layer
Start by selecting the data or region/area of interest on the SEED map by:
- Using simple search (keyword search, filters or adding layers from catalogue to find data in SEED
- Using advanced search or query syntax
- Finding data in a local area
Use the ‘Add to saved results’ option found in the Tools or on the layer three dots.
Click the three dots and select ‘add to saved results’. Repeat to save your chosen results.

- To view saved results:
- Select ‘Tools' then
- ‘Load saved results’
- Saved results will be saved if you are logged or if your cache isn’t emptied.
Export, print or bookmark the map
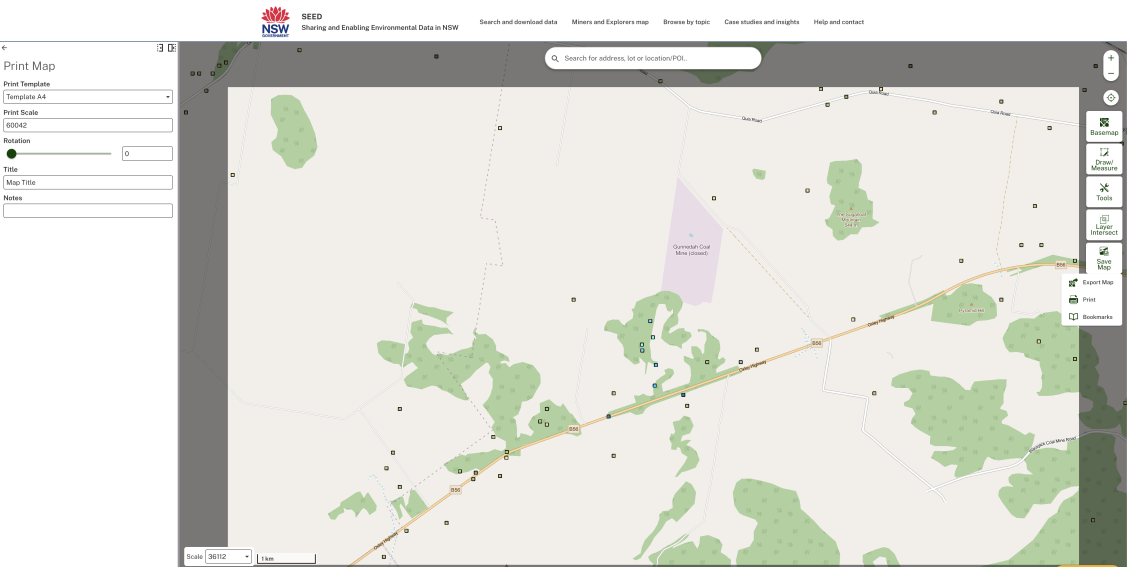
Select ‘Save map’ on the map, and choose one of the options.
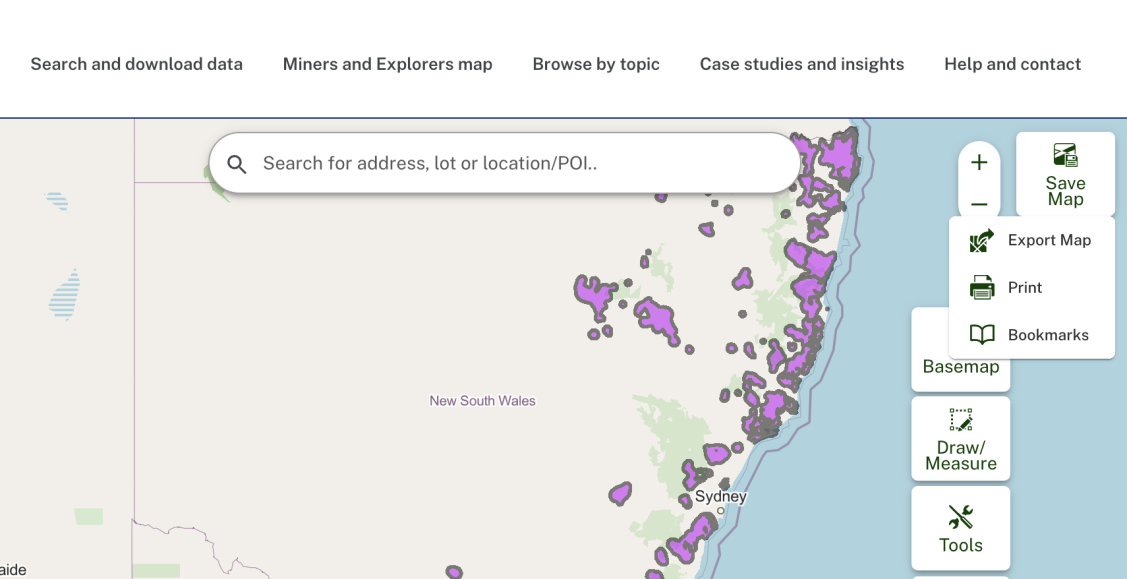
- ‘Bookmark’ will save a specific location on the map. This does not save layers.
- ‘Export map’ will download the map as a .png image onto your device
- ‘Print map’ will give you options to download a PDF of the map with a legend onto your device.
Create custom links for SEED Map datasets
Custom links create shortcut links to load and save your frequently used data layers.
For single map layer
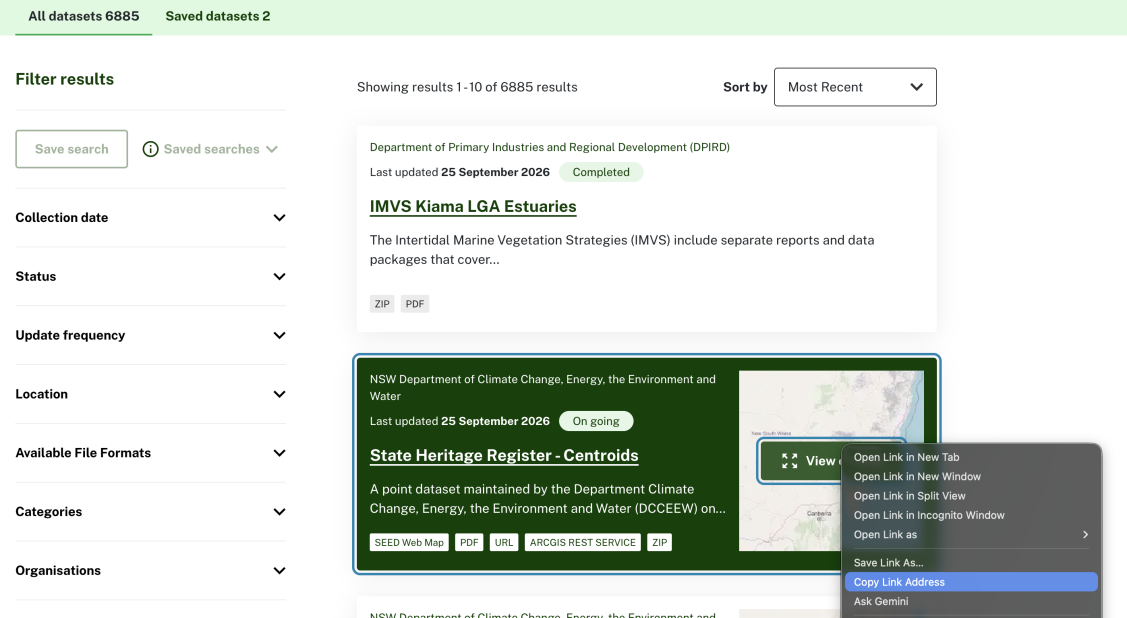
- Right click the 'View on map' button or links on dataset card or page
- Select ‘copy the link address’ from the drop down

For multiple map layers
You can create custom links for multiple layers by using this custom code:
Start with the base URL
This is the main part of the SEED map link. To get it, go to the SEED Dataset Catalogue and launch the map from any dataset with a SEED map attached.
Example
Add the first layer
- Go to your first layer of interest.
- Copy the layer's URL by launching the map from the Dataset Catalogue or by right-clicking the "Show on SEED map" button and selecting "Copy Link Address."
- The first layer must start with :%20[
Example
:%20[{%22itemId%22:%20%224baa2575dae541aea0ae0cada283fc25%22,%20%22layerIds%22:%20%220%22},
Add more layers
- Separate each additional layer with a comma (highlighted above).
- Also remove the [ bracket at the start of the next layer so it starts with %20{
Example
%20{%22itemId%22:%20%22221ece6f68ba458099ad6329db4521a6%22,%20%22layerIds%22:%20%220%22}
Close the URL
Finish the custom URL with ]}
Launch your map
Once done, copy and paste your custom URL into a browser, and it will launch the map with your selected layers.
Example
https://geo.seed.nsw.gov.au/vertigisstudio/web/?app=cabd04d595ec43c1aaf4298e80e83ec2&workflow=36ea26c1-e8e2-4355-8600-5d1558259ad3&workflowParams={%22portalItems%22
:%20[{%22itemId%22:%20%224baa2575dae541aea0ae0cada283fc25%22,%20%22layerIds%22:%20%220%22},
%20{%22itemId%22:%20%22221ece6f68ba458099ad6329db4521a6%22,%20%22layerIds%22:%20%220%22}]}